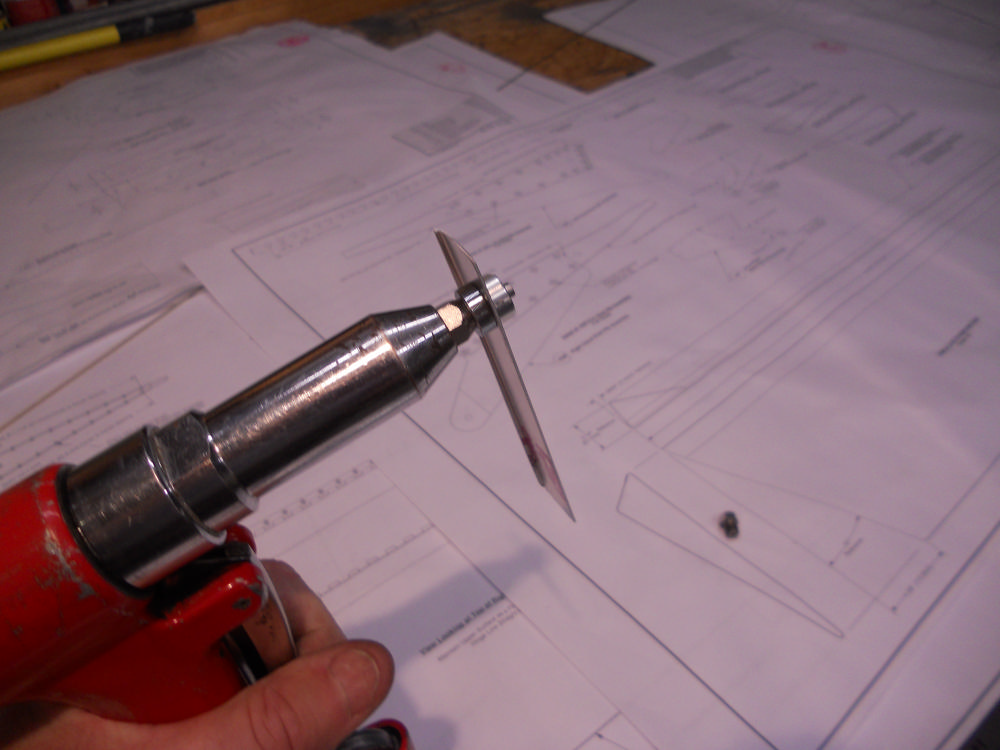
SonexAus – Dimpling Dimpling Using The "Simple Dimple Die"
The Sonex “Simple Dimple Die” (SDD) does a great job. However there can be problems if not used in conjunction with the correct drill size for the hole you are about to dimple. This can lead to the rivet being loose or badly fitting and has a tendency to expose the rivet mandrel after it has been pulled. This problem is particularly bad when working with the stainless steal of the firewall and petrol filler.
I did a bit of testing and what follows is what worked best for me. This information is provided in good faith and it is up to you to decide the relance for your project.
Firstly when looking for replacement nails for the SSD go for 50 X 2.80mm bullet head nails, these will not immediately fit through the SDD but with a very light rub with some emery paper fit beautifully and have the added bonus of lasting a very long time before needing to be replaced. To making loading easier a quick polish of the nail on a Scotchbrite wheel from time to time will dull the ridges caused by the rivet puller jaws.


Secondly the SSD is not always able to fit just where you need it to go this can be remedied by grinding an appropriate amount off one edge, make sure the surface is smooth so as to not damage the material being dimpled.
Thirdly and this is the most important, purchase a number 32 drill bit. This is used to upsize the hole to be dimpled from the 3/32” / #40 drilled hole but is smaller than the 1/8” / #30 drilled hole used for normal upsizing. Note: the ‘sanded’ 2.80mm nail will fit through the #32 drilled holes.
If a #32 drill is used the resulting dimpled hole is a very snug fit for a 1/8” rivet, this is not always the case when using a 1/8” / #30 drilled hole, resulting in the problems mentioned above.
If after dimpling the rivet will not pass through the dimpled hole it can now be adjusted slightly by using a 1/8” / #30 drill if required but this is rarely the case.
The problem with using a #32 drill is that neither a silver not a copper Cleco will hold your work together while you drill adjacent holes. To overcome this problem I made a couple of down sizing clips out of some scape with 3/32” / #40 holes that can then be used with silver Cleco’s.


If you are going the use your pneumatic riveter to pull the dimples you do not need much air pressure. I have found around 30 psi works best on my equipment but this may vary. Too much pressure and the nails break too often, too little and the dimple is not formed correctly.
Pressure is also important when pulling the countersunk rivets supplied by Sonex. To ensure that the mandrels do not break off exposed from the top of the rivet, I have found that 55 to 60 psi works best on my equipment but again this may vary.


If for some reason you have created a dimple that you do not want, it can be removed by using the flat sides of the SSD in the same way has you use the dimpled sides. I cannot however state how strong it will be after the dimple as been removed.
The EAA has a video about using the SSD that can be found at: Dimpling video
Hope this helps you to create better rivets on your project.

